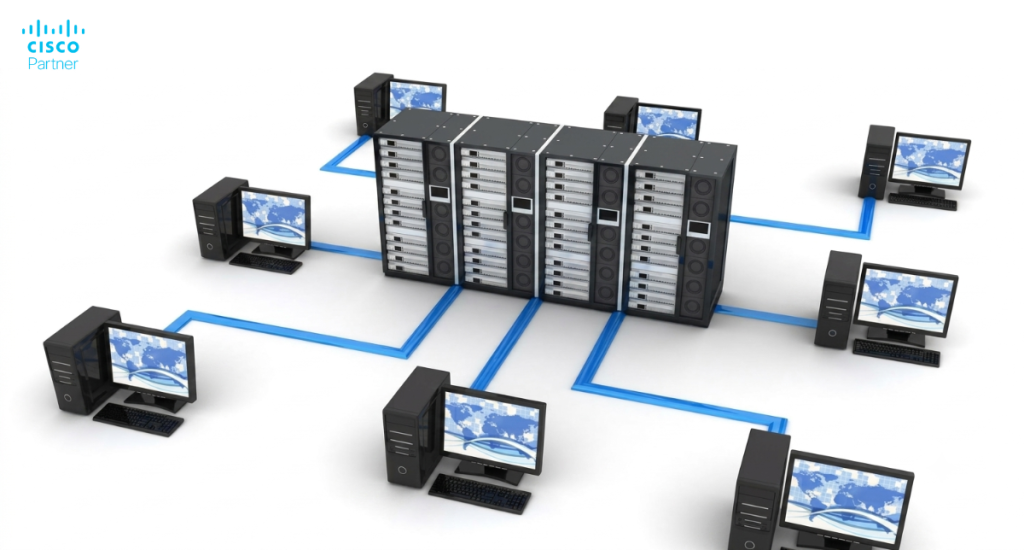
Meraki switches are a vital component in modern network management, providing powerful cloud-managed capabilities that simplify IT tasks. However, there are times when accessing a Meraki switch locally becomes necessary, particularly during network issues or when the cloud management interface is unavailable. Understanding how to access a Meraki switch locally is crucial for maintaining network continuity and resolving potential issues. The ability to access the Meraki switch locally adds significant value, especially in urgent situations where immediate troubleshooting is required and cloud access is not possible.
This article will guide you through the process, outlining the steps needed to connect to a Meraki switch directly—meaning your computer is directly connected to the switch—and manage it without relying on cloud access. Local configuration pages can save valuable time during troubleshooting or network outages by providing quick access to essential tools and real-time status updates. We will also discuss how local access applies to other Meraki equipment, such as access points and security appliances, and cover initial setup steps for local access.
Local access to a Meraki switch is essential in several scenarios where cloud-based management may not be feasible or available. For instance, during network troubleshooting, it’s often necessary to isolate and diagnose issues that could disrupt the connection to the Meraki cloud. Similarly, if the network is experiencing severe outages or if you need to make an urgent configuration change, it’s important to recognize that any configuration change can impact device connectivity and network security, so such changes should be managed carefully. The firewall plays a key role in protecting access to the local configuration page and managing network traffic, ensuring that only authorized users can reach the device and that sensitive settings remain secure.
Local access allows you to manage the switch directly without waiting for remote cloud commands to execute.
Unlike cloud-based management, which provides a centralized and convenient way to control all Meraki devices across multiple sites, local access gives you direct control over the switch in real time. This capability acts as a critical backup method when remote access is unavailable, ensuring that you can maintain network operations and troubleshoot issues on the ground.
Before you can access a Meraki switch locally, there are a few prerequisites to ensure a successful connection:
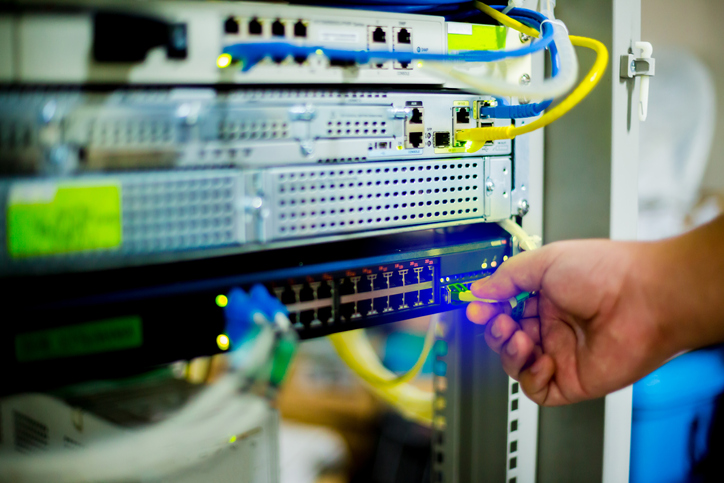
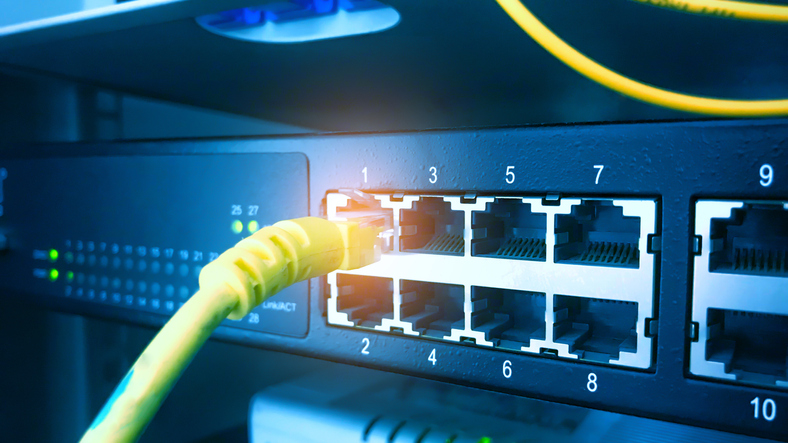
The first step in accessing a Meraki switch locally is to physically connect your computer to the switch using an Ethernet cable (a laptop is commonly used for this purpose, especially during troubleshooting or wireless site surveys). Ensure that your device is on the same subnet as the switch to allow for proper communication. If your computer is not on the same subnet, you may need to adjust its IP settings to match the switch’s network configuration.
Once connected, you’ll need to find the switch’s local IP address. This can typically be obtained from the Meraki dashboard under the switch’s status or by using network discovery tools like arp -a or IP scanning software. After obtaining the IP address, enter it into your web browser to access the switch’s local status page. This page is your gateway to configuring and managing the switch directly.
To log in to the Meraki switch, you’ll need the default or previously configured login credentials. Enter these into the login fields on the local status page. The Local Status Page (LSP) is enabled by default on Cisco Meraki devices and requires authentication. Authentication is essential to protect sensitive configuration settings from unauthorized access. If you encounter issues, such as forgotten passwords, you may need to reset the switch to factory settings or contact support for assistance.
Once logged in, you have access to various configurable options and settings that can be managed locally:
The local configuration page also displays whether the device has fetched configuration from the cloud, which can affect the available options for local management. Most Cisco Meraki devices have a local status page that can be accessed to make local configuration changes, monitor device status and channel utilization, and perform local troubleshooting. The Local Status Page (LSP) is enabled by default and is a web administrative interface hosted locally on the device. Even if the local status page is disabled, the physical management port will remain active for direct connections.
The Meraki Cloud serves as the central cloud management interface for Cisco Meraki devices, offering administrators deep control and visibility over their entire network infrastructure—including switches, access points, and security appliances. This cloud-managed approach streamlines network deployment and ongoing management, making it ideal for organizations with multiple sites or distributed teams. However, there are times when internet access is limited or unavailable, and that’s when the local status page becomes an essential tool for maintaining network security and operational continuity.
The local status page is a built-in web interface accessible by entering the Meraki switch’s IP address into a browser while connected to the same subnet. This page provides real-time device status, allowing administrators to monitor device health, review network performance, and quickly identify connectivity issues. Even if the Meraki Cloud is unreachable, the local status page remains active, ensuring you can perform local troubleshooting and keep your network running smoothly.
Through the local configuration pages, IT administrators can manage a variety of settings directly on the Meraki switch. These include configuring IP settings—such as static or dynamic addressing for uplink interfaces—adjusting the default gateway, and setting up VLANs to segment network traffic. The interface also allows you to monitor client device connectivity, check port status, and verify critical details like the device’s serial number and hardware information. This level of access is especially valuable for small businesses or organizations with limited IT resources, as it enables quick, on-site adjustments without waiting for cloud synchronization.
Security remains a top priority when accessing the local status page. It’s important to use strong login credentials and change the default authentication credentials immediately after deployment to prevent unauthorized access. Administrators should also ensure the device’s firmware is up to date and, where possible, use secure connections such as HTTPS to encrypt data between the browser and the Meraki device. These steps help safeguard your network against potential threats, even when performing local configuration.
The physical management port on Meraki switches provides a reliable way to connect directly for local access, and it remains operational even if the local status page is disabled for remote users. For remote access to the local status page, ensure proper configuration and security controls are in place. Always verify that your client device is on the same subnet as the Meraki switch to guarantee seamless access.
In summary, the Meraki Cloud and local status page work hand-in-hand to deliver a robust, flexible network management solution. While the cloud management interface offers centralized control and scalability, the local status page empowers administrators to monitor device status, perform local troubleshooting, and manage configurations without relying on internet access. By understanding how to access and secure the local status page, you can ensure your Cisco Meraki devices remain protected, accessible, and fully operational—no matter the state of your internet connection.
When accessing and configuring a Meraki switch locally, it’s important to follow best practices to maintain network security and consistency:
So now you know how to access Meraki switch locally. But if you encounter problems while trying to access a Meraki switch, here are some common issues and solutions:
By following these steps and best practices, you can effectively manage your Meraki switch locally, ensuring that your network remains operational even when cloud access is unavailable. Local access is an essential tool for IT administrators, providing the flexibility and control needed to address network issues promptly and efficiently.
The Meraki Cloud architecture is designed to handle connectivity failures gracefully, ensuring network resilience even during outages.
If you need more guidance, don’t hesitate to reach out to Stratus Informational Systems. Our team of experts is here to assist you. Whether you’re a small business or a large enterprise, we’re committed to helping you maintain a secure and reliable IT environment. Contact us today to ensure your network runs smoothly with expert support at every step.