MX84 Configuration Guide: Step by Step Setup for Security Appliances
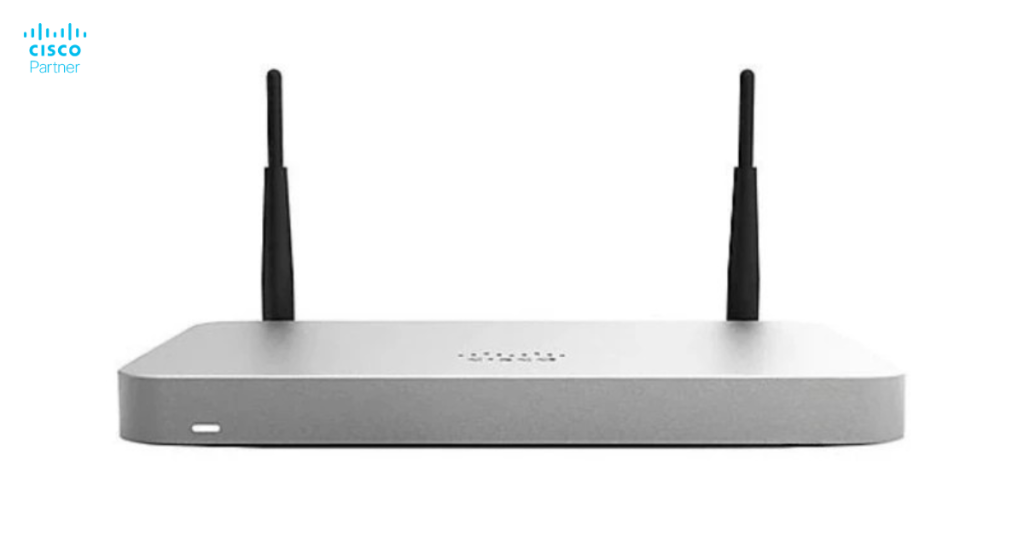
The Meraki MX84 security appliance represents the entry point into enterprise-grade network protection for many organizations. Whether you’re deploying your first MX appliance or adding to an existing Meraki infrastructure, the initial configuration determines everything that follows—security policies, network performance, VPN connectivity, and operational visibility all depend on getting the setup right.
Unlike traditional firewalls requiring months of configuration expertise, the MX84 leverages cloud-based management through the Meraki dashboard, reducing setup complexity dramatically. However, even simplified configurations require understanding the appliance’s core functions and how to configure them for your specific environment.
This guide walks through the complete MX84 setup process—from initial hardware installation through verifying that security policies protect your network appropriately. Whether you’re working with a reseller or implementing internally, these steps ensure your MX84 deploys smoothly and operates securely from day one.
Understanding the MX84 Architecture
Before configuration begins, understanding what the MX84 does helps inform setup decisions.
Core Functions
The MX84 provides several integrated security and networking capabilities:
Network address translation (NAT) protecting internal IP addresses by translating them for internet connectivity
VPN gateway enabling secure site-to-site connections between locations or remote user access
Intrusion detection and prevention identifying and blocking network attacks
Content filtering controlling which website categories users can access
Application visibility and control identifying and managing specific applications on the network
These functions work together, making the MX84 a comprehensive security platform rather than just a firewall. Proper configuration ensures all functions work cohesively rather than independently.
Cloud Management Model
Unlike traditional firewalls requiring direct connection to configure, the MX84 phones home to Cisco Meraki’s cloud infrastructure. This architecture provides several advantages:
Remote management from anywhere with internet access
Automatic updates delivering security patches without manual intervention
Consistent policies across multiple MX84s from a single dashboard
Simplified troubleshooting with detailed visibility into appliance status and traffic
However, this model requires understanding that the MX84 needs reliable internet connectivity to communicate with the Meraki cloud. Organizations with unstable internet should consider failover links or resilience planning.
Pre-Installation Checklist
Before physically installing the MX84, several preparation steps ensure smooth deployment.
Hardware Requirements
Verify you have all components:
MX84 appliance unit
Power cable and power supply
Network Ethernet cables (at minimum 2: one WAN, one LAN)
Optional: Serial console cable for troubleshooting
Mounting hardware if installing in a rack
Network Planning
Determine:
WAN connection details – IP address assignment (static or DHCP), gateway, and DNS servers for the internet connection
LAN network information – IP range for internal networks, VLAN requirements if applicable
VPN requirements – Do you need site-to-site VPN to other locations or client VPN for remote workers?
Security policies – Which applications or websites should be blocked or allowed?
Meraki Dashboard Access
Ensure you have:
Meraki account with organization admin privileges
Meraki license key (provided with purchase) if this is a new installation
Protection from environmental hazards (water, extreme temperatures)
Ideally, mounted in a rack or secure location preventing accidental disconnection
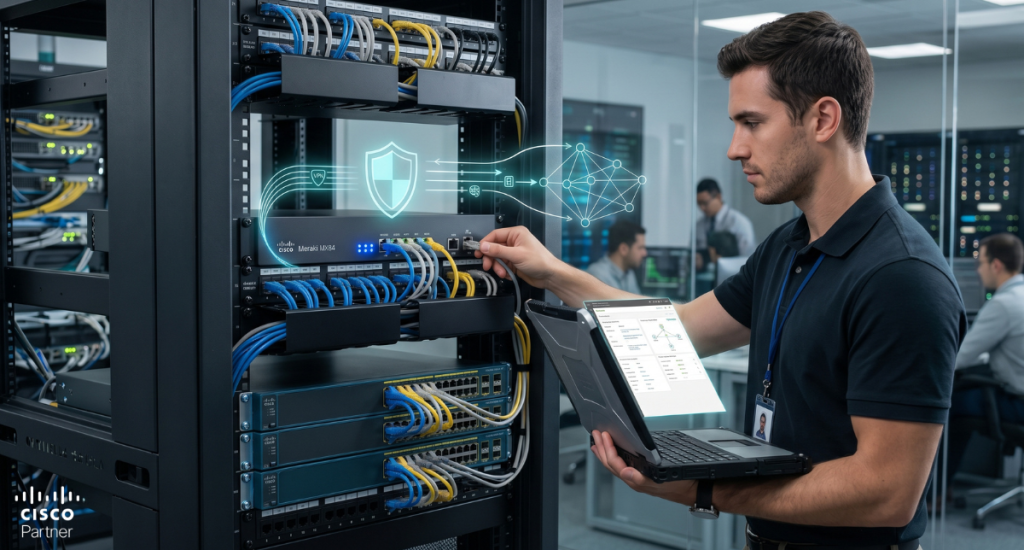
Network Connections
The MX84 has multiple network ports. Understand which you’re using:
Port 1 – Typically the WAN (internet) connection
Ports 2-4 – LAN connections to your internal network
Management port – For out-of-band management (optional)
Connect the WAN port to your internet service provider’s equipment. Connect LAN ports to your network switch or directly to critical devices during initial testing.
Initial Power-On and Discovery
What Happens When You Power Up
The MX84 boots, runs self-diagnostics, and attempts to communicate with Meraki’s cloud. This process typically takes 3-5 minutes. The status LED provides feedback:
Amber during startup – Normal while booting
Blue steady – Connected to cloud, operational
Amber blinking – Looking for internet connection
Red – Error state requiring investigation
Accessing the Appliance
Once powered and connected to a network, the appliance appears in your Meraki dashboard. Navigate to Network-wide > Appliance status to see all MX appliances. Click on the MX84 to begin configuration.
Configuring Basic Network Settings
WAN Configuration
The MX84 needs to know how to reach the internet. Configuration depends on your ISP setup:
DHCP WAN (Most common):
Go to Appliance > Addressing and VLAN
Set WAN to “DHCP”
The MX84 automatically requests IP configuration from your ISP
Verify the appliance receives an IP address
Static WAN:
Go to Appliance > Addressing and VLAN
Set WAN to “Static”
Enter IP address, subnet mask, gateway, and DNS servers provided by your ISP
Save configuration
LAN Configuration
The LAN side serves internal network traffic:
Go to Appliance > Addressing and VLAN
Verify the LAN IP address (default: 192.168.1.1)
If you need different internal addressing, modify here
Ensure this IP doesn’t conflict with other devices on your network
Default Gateway
All internal devices should use the MX84’s LAN IP as their default gateway, routing all traffic through the firewall for inspection and control.
Firewall Rule Configuration
Understanding Default Behavior
Out-of-the-box, the MX84 blocks all inbound traffic from the internet while allowing all outbound traffic. This default stance provides security while allowing users to access the internet.
Adding Allow Rules
If you need to allow internet users to reach services on your network (web servers, email, etc.):
Go to Security > Firewall
Click Add a firewall rule
Specify:
Protocol (TCP, UDP, etc.)
Destination port (80 for HTTP, 443 for HTTPS, etc.)
Select categories to Block (adult content, gambling, etc.)
Set Blocked URL list if you want to block specific sites
Set Allow list for sites that match blocked categories but should be accessible
Configure filtering for HTTP and HTTPS traffic
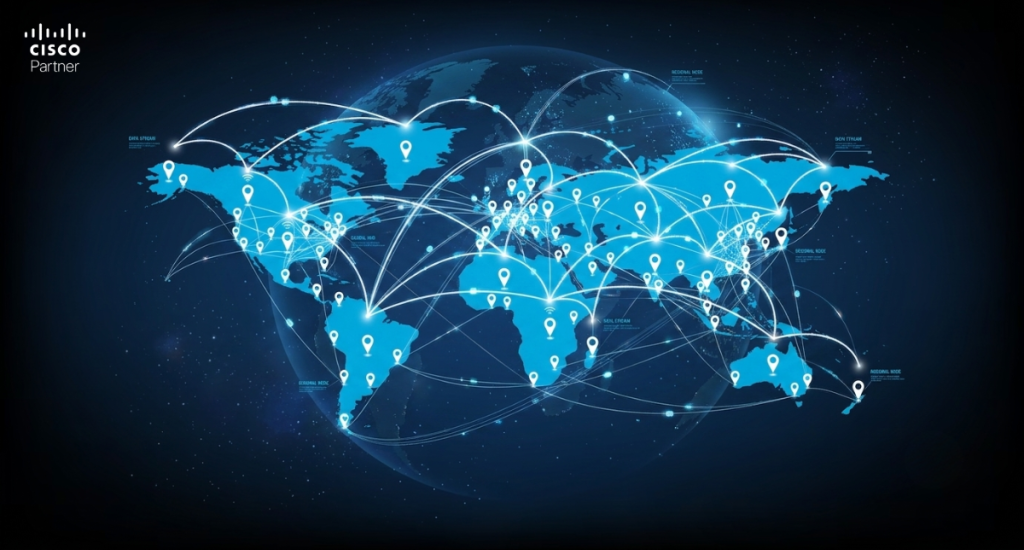
VPN Configuration
Site-to-Site VPN
For organizations with multiple locations:
Go to Security > Site-to-site VPN
Note the appliance’s IPsec identifier
Add remote site:
Remote public IP address
Remote internal subnet(s)
Pre-shared key (secure password for authentication)
Configure the same settings on the remote MX84
Once both sides are configured, the VPN tunnel establishes automatically
Client VPN (Remote Users)
For employees connecting from home:
Go to Security > Client VPN
Enable Client VPN
Configure:
VPN protocol (IPSec or IKEv2)
Authentication method (password, certificates, Duo MFA)
Tunnel subnet for remote users
Provide configuration file to remote users
Users install Cisco Secure Client and import the configuration
Intrusion Detection and Prevention
Enabling IDS/IPS
Protect against network attacks:
Go to Security > Intrusion detection and prevention
Select IDS/IPS mode:
Off – No protection
Detection only – Alerts but doesn’t block
Prevention – Actively blocks detected attacks
Choose Prevention for production networks
Set rule sensitivity:
Standard – Catches most attacks without false positives
Strict – More aggressive, higher false positive risk
Trusted Servers
If you have legitimate servers generating IDS alerts (heavy downloaders, etc.):
Add their IPs to Trusted servers list
These servers don’t trigger IDS alerts
Application Layer Gateway (ALG)
Enabling Protocol-Specific Processing
The MX84 can inspect and manage specific application protocols:
Go to Security > Application layer gateway
Enable/disable based on your needs:
SIP – For VoIP systems
SNMP – For network management
H.323 – For video conferencing
PPTP – For legacy VPNs
Most organizations leave defaults unless they have specific protocol requirements.
Administrative Access Security
Protecting Dashboard Access
Ensure only authorized people can modify MX84 configuration:
Go to Organization > Settings > Administrators
Add team members with appropriate roles:
Full admin – Complete control
Read-only – Viewing only
Network admin – Network changes but not organization settings
Enable Two-factor authentication for admin accounts
API Access
If you plan to automate configuration:
Go to Organization > Settings > API access
Generate an API key
Store securely (treat like a password)
Use for scripts and automation
Traffic Shaping and QoS
Prioritizing Traffic
Ensure critical applications get bandwidth:
Go to Appliance > Traffic shaping
Create rules for:
Video conferencing – High priority to prevent lag
Voice – Very high priority
File downloads – Low priority
Set bandwidth limits preventing one application from consuming all bandwidth
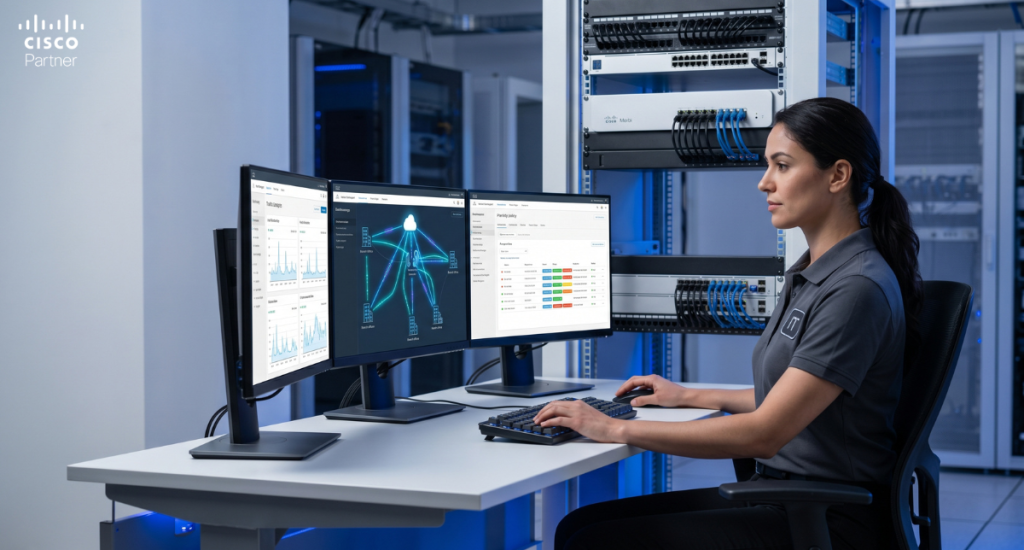
Monitoring and Alerts
Setting Up Alerts
Get notified of important events:
Go to Alerts > Alerts and maintenance windows
Configure which events trigger alerts (appliance down, IP reputation alerts, etc.)
Set notification method (email, SMS, webhook)
Test alerts to verify they work
Dashboard Widgets
Customize the dashboard to show important metrics:
Go to the dashboard home
Add widgets showing:
Appliance status
Top applications
Security events
Traffic trends
Testing Your Configuration
Connectivity Tests
Verify the MX84 is working:
From an internal device, verify internet access works
From the internet, test that blocked ports don’t accept connections
If configured, test VPN connectivity from remote locations
Verify content filtering blocks appropriate sites
Security Validation
Test that security policies work:
Try accessing a blocked website – should be blocked
Try connecting to a blocked port – should timeout
Review Appliance > Status for any warnings or errors
Performance Check
Ensure the MX84 isn’t a bottleneck:
Run speed test from behind MX84
Compare to direct ISP speed
Degradation should be minimal (less than 5-10%)
Optimization and Tuning
Advanced Configuration
Once basic setup is complete, consider:
Load balancing across multiple WAN connections
Failover configuration for network resilience
Advanced threat protection for higher security
Advanced logging for compliance and forensics
These features enhance security and reliability beyond baseline configuration.
Troubleshooting Common Issues
Appliance Shows “Offline”
Check WAN connection to internet
Verify power and network cables are connected
Check LED status
Restart the appliance if needed
Verify ISP hasn’t blocked Meraki cloud IPs
Users Can’t Access Internet
Verify LAN network is configured correctly
Check that client devices have correct default gateway
Review firewall rules – ensure nothing is blocking outbound traffic
Check content filtering isn’t blocking all sites
VPN Won’t Connect
Verify both ends have identical pre-shared keys
Check that both appliances have public IPs reachable
Verify firewall rules allow UDP 500 and 4500
Review VPN logs for specific error messages
Best Practices for MX84 Deployment
Documentation
Maintain records of:
WAN configuration details
VPN parameters and pre-shared keys
Firewall rules and their purposes
Administrative credentials (stored securely)
Regular Reviews
Periodically review:
Traffic patterns and security events
Firewall rules to remove obsolete entries
Blocked users/sites to ensure policies remain appropriate
License renewal dates
Testing Updates
Before deploying firmware updates organization-wide:
Test on a non-critical location first
Verify no configuration loss after update
Test core functionality (VPN, firewall, VPN)
Getting Help
For organizations needing support beyond this guide, Stratus Information Systems provides professional configuration and deployment assistance. Our team helps organizations implement MX84 appliances correctly, ensuring security policies protect your network while supporting business requirements.
Proper configuration requires understanding both the appliance capabilities and your organization’s specific security requirements. Working with experienced partners eliminates guesswork and ensures your Cisco Meraki firewall operates optimally from day one.
Whether you are considering moving to a cloud-hosted solution for the first time or just refreshing old gear, Stratus has the knowledge and expertise to set your organization up for a flawless network deployment.
Thank you!
We are working on your request and we will contact you as soon as possible. Have a nice day!