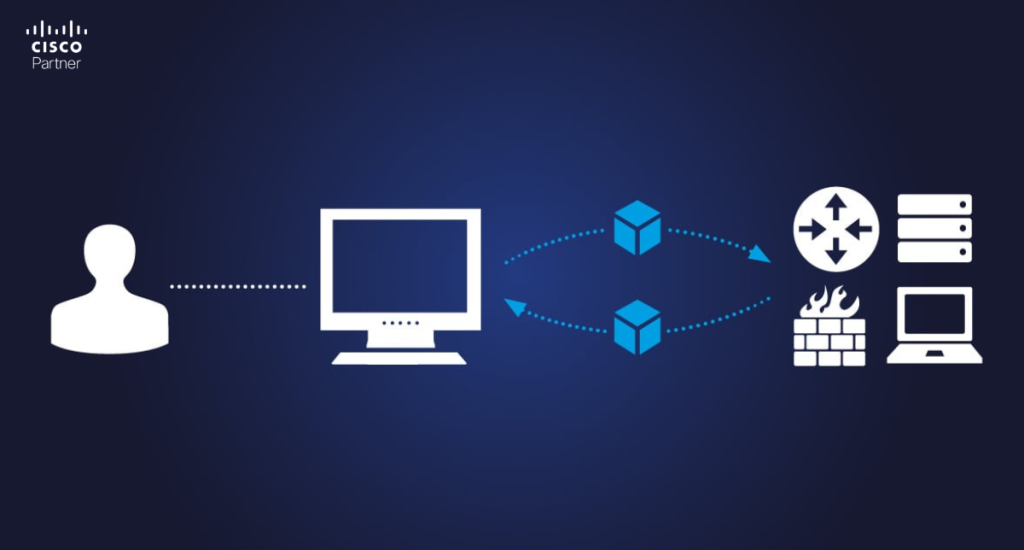
When a network problem lands on an IT team, the first challenge is rarely access to data. The real challenge is finding the right data quickly enough to separate symptoms from root cause. A user reports that Wi-Fi is slow, a switch looks online, but a device cannot pass traffic, or a branch appliance keeps dropping to a backup link. In those moments, the value of the Cisco Meraki Dashboard is not only centralized visibility. It is the way the platform brings monitoring, alerts, live diagnostics, and device-level tools into one operating view.
That makes Meraki network monitoring far more than a status page. The Meraki Dashboard can help teams move from “something is wrong” to “this is the exact path, uplink, service, or client behavior causing the issue.” That is especially useful in distributed environments where IT staff may be supporting several sites without local hands on every location. With the right workflow, Meraki tools reduce guesswork, shorten escalation time, and improve the quality of remote troubleshooting.
The first question is simple: how big is the problem? One user with one device is very different from an office-wide outage. One flaky wireless client is different from a site-wide authentication failure. The Dashboard helps answer that quickly if the team starts with the right screens.
Alerts come first. A cloud communication alert, uplink instability, VPN failure, recent 802.1X failures, interference alert, or device offline event already tells you what class of problem you are dealing with. That narrows the search before any live tool is opened. A bad uplink path calls for a different workflow than a failed RADIUS exchange or a local switch issue.
Next, check device status and site health. If several downstream devices are red or gray at once, the real problem is usually upstream. If one access point is yellow while neighboring APs stay healthy, the issue is likely local to that AP, its cable, or its immediate RF conditions. Good troubleshooting begins with scope, not with commands.
Topology is one of the most underused views in the Meraki Dashboard. In a live incident, it often saves time faster than any packet capture because it shows how the site is connected and where the break is likely to be.
If a switch stack goes dark behind one firewall, the firewall or WAN edge deserves attention first. If one access point shows trouble while the switch and uplink remain healthy, start at the access layer. If an entire branch looks unstable, trace the path from the ISP handoff inward rather than checking every device independently.
This is especially helpful in distributed environments. A remote team may not have hands at the site, so they need the shortest path to the likely failure point. Topology, status color, and alert timing together give a fast first picture of where to focus.

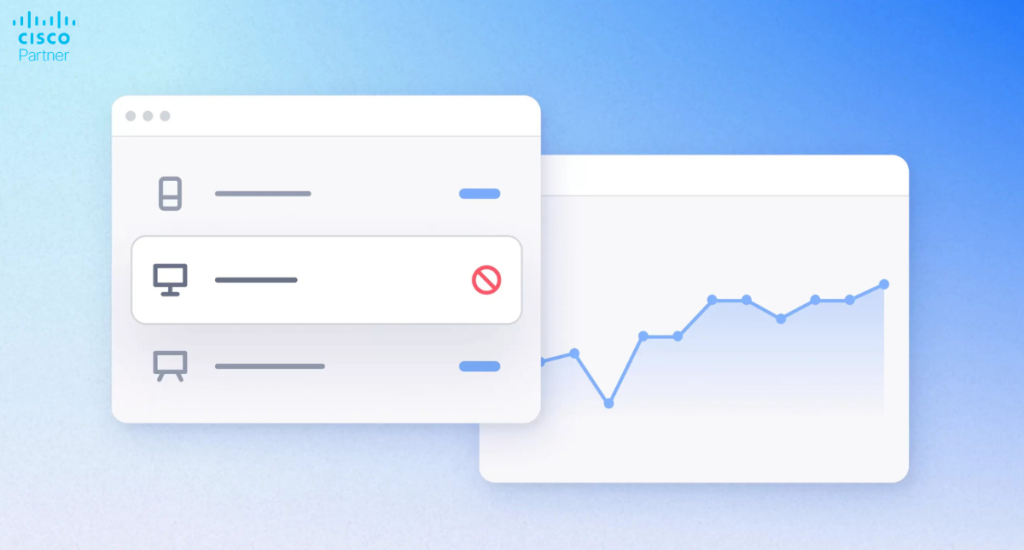
A network issue usually arises through a user, not through a device. That makes the client page one of the best places to work from, especially for wireless complaints, intermittent failures, DHCP issues, and roaming problems.
For a wireless client, the Dashboard can show association history, SSID, authentication result, IP details, recent connection problems, and traffic patterns. That helps separate several common situations:
For wired clients, client history and switch-port context help too. If the device disappears and reappears repeatedly, the issue may be physical. If the port stays stable but the client has inconsistent network access, the cause may be VLAN assignment, gateway reachability, policy, or the endpoint itself.
This is where Meraki network monitoring becomes more than hardware monitoring. The platform lets the team work from the affected experience backward instead of starting from infrastructure assumptions.
The Dashboard includes several live tools, and each one solves a different kind of problem. The fastest technicians do not use every tool. They pick the one that matches the suspected layer.
Ping is the first check when reachability is in doubt. Use it from the appliance, switch, or AP to test the default gateway, DNS server, remote application, or public target. Packet loss and latency changes often reveal whether the issue is local, upstream, or remote.
Traceroute helps when traffic reaches some destinations but fails or slows farther along the path. It is useful for WAN complaints, MPLS handoff questions, VPN path issues, and cases where users say “the internet works, but this app does not.”
Cable test is the best fast check for copper problems on Meraki switches. If a port shows link but the endpoint behaves erratically, a cable test can expose pair faults and save time before someone swaps hardware that was never broken.
Throughput test is useful for checking the path between the device and the Meraki cloud. It should not be mistaken for a full-site internet speed test, though it can still reveal degraded cloud path quality.
Used properly, these tools narrow the fault domain quickly and keep the team from mixing physical, logical, and internet path issues into one vague problem statement.
Every good troubleshooting article on Meraki should include packet capture because it is often the point where the guesswork ends.
Packet capture is the right choice when the team needs proof of what is actually happening on the wire or over the air. It is especially useful for:
On a switch, a capture can show whether the endpoint is transmitting and if responses return. On an access point, it can help with onboarding failures, DNS problems, and wireless authentication flow. On an MX, it is excellent for WAN traffic, VPN traffic, NAT behavior, and security policy validation.
Packet capture should come after the likely problem area is narrowed down. It is most valuable when the question is specific. “Why is this client not getting DHCP?” is a good packet-capture question. “The network is weird” is not.
Wireless problems need their own workflow. Slow Wi-Fi, failed onboarding, intermittent disconnects, and bad roaming are not the same issue. Wireless Health gives a cleaner breakdown by showing where users fail during the connection process and where performance degrades after association.
A useful wireless troubleshooting sequence usually looks like this:
This process helps separate RF problems from authentication problems and upstream network issues from client-specific behavior. Without that separation, wireless troubleshooting quickly turns into guesswork.
Some network issues are one-time failures. Others repeat every morning, every firmware window, every school dismissal, or every time a certain application spikes traffic. The event log is where those patterns become obvious.
Use it to correlate time and behavior. If port flaps appear every afternoon, that points in one direction. If an AP logs repeated client disassociations in one area, that suggests a local wireless issue. If VPN changes line up with user complaints from one branch, the WAN edge deserves closer inspection.
Historical patterns are often what separate random reports from true operational issues. A team may think a problem started today when the log shows it has happened for two weeks and simply became noticeable now because user load increased.
Some failures take the device out of normal Dashboard communication. When that happens, the local status page becomes critical.
This is where teams can check basic connectivity, addressing, uplink details, DNS, and local device information when cloud visibility is weak or absent. It is especially useful for devices that have just been moved, have lost valid addressing, or are online locally but not communicating properly with the cloud.
For remote sites, the local status page is often the most useful task to hand to onsite staff. Instead of saying “check the network,” the remote engineer can ask them to open the local page and confirm addressing, gateway, or WAN details. That makes remote support faster and far more precise.

A repeatable sequence prevents wasted time. For most Meraki environments, this order works well:
This sequence works because it moves from broad visibility to targeted proof. It avoids the common mistake of starting too deep too early.
The Cisco Meraki Dashboard is most effective when it is used as a troubleshooting workflow, not as a collection of separate tools. Alerts show what changed. Topology shows where to look. Client details show who is affected. Live tools test the suspected layer. Packet capture confirms what is truly happening. Event logs reveal what repeats. The local status page fills the gap when cloud visibility drops.
That is what makes Meraki network monitoring so valuable in real operations. It gives distributed IT teams a practical way to isolate faults, reduce guesswork, and resolve problems faster across switching, wireless, appliances, and branch environments.Stratus Information Systems helps organizations get more from Cisco Meraki by improving monitoring, troubleshooting discipline, and day-to-day support workflows across distributed networks.