
Yes, you can use a router as a switch…in certain situations. What are those situations, and why would you want to use a router as a switch?
Stratus Information Systems is here to guide you through the path of a dozen steps to victory. Let’s first cover a few basics.
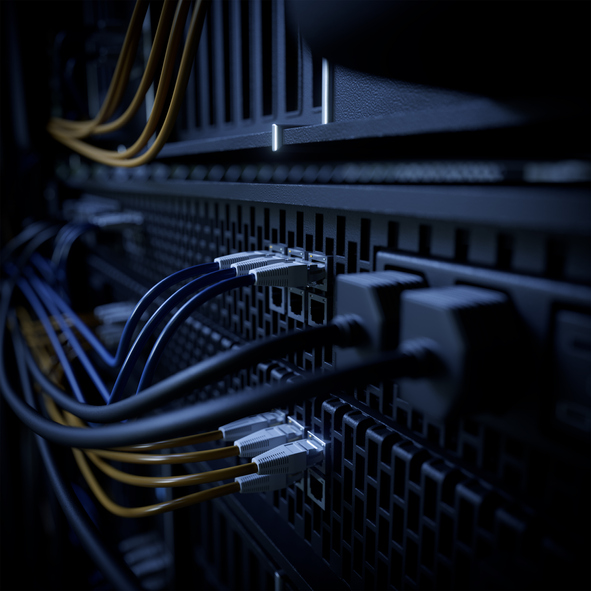
A router connects multiple networks and routes data packets between them, typically using IP addresses and operating at Layer 3 of the OSI model. Routers manage data that enters, moves around in, and exits the network, and are responsible for directing data packets to their correct destination across different networks. The router’s IP address is used to access its web interface for configuration, and the correct subnet mask is essential to ensure proper network communication. Routers are multifunction devices that often include a built-in switch, DHCP server, and firewall. Typically, routers have fewer Ethernet ports than switches, as they are designed primarily to connect networks rather than many individual devices.
Routers:
A switch is a dedicated device that connects various devices together within a single computer network and forwards data packets based on MAC addresses, operating at Layer 2 of the OSI model. Switches ensure the correct transmission of data to connected devices by directing the right data packets to their intended recipients within the local network. Switches generally have more Ethernet ports than routers, as they are designed to connect many devices within a network. They are more efficient for handling data traffic within a local network compared to routers.
Switches:
Sometimes complicated network routing is unnecessary, which is why many small office routers already have switching purposes built right in. This capability saves you money on multiple network devices and simplifies configuration.
You can use a router instead of a switch if you can check all three of these boxes:
When using two routers, it’s important to ensure both devices have the same subnet mask to allow proper network communication. If the subnet mask settings do not match, devices may not be able to communicate across the network.
Caution: If the DHCP server is not disabled on the old router, it can create isolated subnets and disrupt your network. Always connect the old router to the main router using a LAN port, not the WAN port, to ensure it functions as a switch.
However, there are a few things to keep in mind as your business grows:
Before you can transform your old router into a network switch, a bit of preparation is essential to ensure a smooth setup and reliable performance. Start by gathering the necessary equipment: you’ll need an ethernet cable to connect your old router to both your computer and your main router. This wired connection is crucial for stable configuration and will help you connect multiple devices to your network later on.
Next, access your old router’s settings by entering its IP address into a web browser. The default IP address is often 192.168.1.1, but it can vary—check your user’s manual or the label on the device for specifics. You’ll also need the default username and password to log in to the web interface. If you’ve changed these credentials in the past, use your updated information. If you can’t remember them, a quick factory reset using the reset button (usually found on the back of the router) will restore the device to its factory settings. Just press and hold the reset button for a few seconds, and your router will be ready for a fresh configuration.
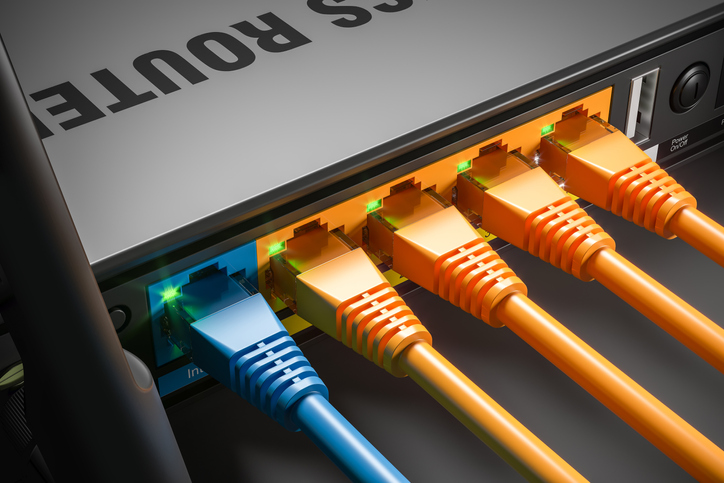
Understanding your router’s ports is key. The WAN port is designed for connecting to the internet, but when using your router as a switch, you’ll be working exclusively with the LAN ports. These LAN ports allow you to connect multiple wired devices, such as computers, printers, or other network hardware, to your primary router and expand your wired internet connection throughout your office or workspace.
To avoid conflicts on your network, it’s important to disable the DHCP server on your old router. This prevents the device from assigning IP addresses, which should be managed solely by your main router. You’ll find this option in the LAN settings section of the router’s web interface. While you’re there, assign a new IP address to your old router that’s within the same subnet as your primary router, but outside its DHCP range. This ensures seamless communication between all the devices on your network.
Some routers offer an “Operating Mode” or “AP Mode” setting—switching to this mode will disable routing functions and allow your device to function purely as an ethernet switch or wireless access point. If your router doesn’t have this option, simply disabling DHCP and connecting only via the LAN ports will achieve the same result.
Depending on your router’s age and model, you might need a crossover cable to connect directly to your computer for initial setup, though many routers and computers now support auto-sensing ports and work with standard ethernet cables.
By carefully preparing your old router and configuring these settings, you can repurpose it as a reliable network switch. This approach is ideal for connecting multiple devices in environments where a wired connection is preferred, such as business offices or home workspaces. While an old router may not match the performance of a dedicated ethernet switch, it’s a cost-effective way to expand your network and make the most of your existing hardware.
There are only a dozen simple steps, so follow along with our instructions and start using your wireless router as a switch in five minutes flat.
Note: Before starting, perform a factory reset on the wireless router using the reset button. This ensures all previous settings are cleared.
Example: You have an old wireless router with a default IP of 192.168.1.1. After a factory reset, you plug it in, connect your computer via Ethernet, access the router’s settings at 192.168.1.1, assign it a new IP like 192.168.1.2, disable DHCP, set it to switch mode, and turn off Wi-Fi. Then, connect one of its LAN ports to your main router’s LAN port. The device now acts as a simple wired switch, extending your network.
Note: After changing the settings, you may need to reboot the router to ensure all configurations are applied.
DIY networking has its place, and it’s a good one. But if your business is at the point where you are struggling to keep up with all the demands on your network to-do list, it’s time to enlist the network support and consulting services of those trained in this highly technical field.
Stratus Information Systems will be your stand-by crew, here whenever you need: